This Instant Pot turkey chili is the kind of recipe you come back to again and again. It’s hearty without being heavy, rich in flavor without relying on complicated steps, and practical enough for busy weeknights. Using lean ground turkey keeps things lighter, while pressure cooking brings everything together quickly with minimal cleanup, exactly what most home cooks want.
Jump to RecipeWhether you’re meal prepping, feeding family, or just craving a comforting bowl of chili, this recipe delivers consistent results without guesswork.
Why This Instant Pot Turkey Chili Works Every Time
What sets this recipe apart is balance. Turkey chili can sometimes turn out dry or bland, but this method avoids both problems.
- Browning the turkey first builds depth of flavor
- The liquid-to-ingredient ratio prevents burn notices
- Pressure cooking keeps the turkey tender
- The texture holds up well for leftovers and freezing
It’s designed to be reliable, even if you’re new to pressure cooking.
Ingredients You’ll Need
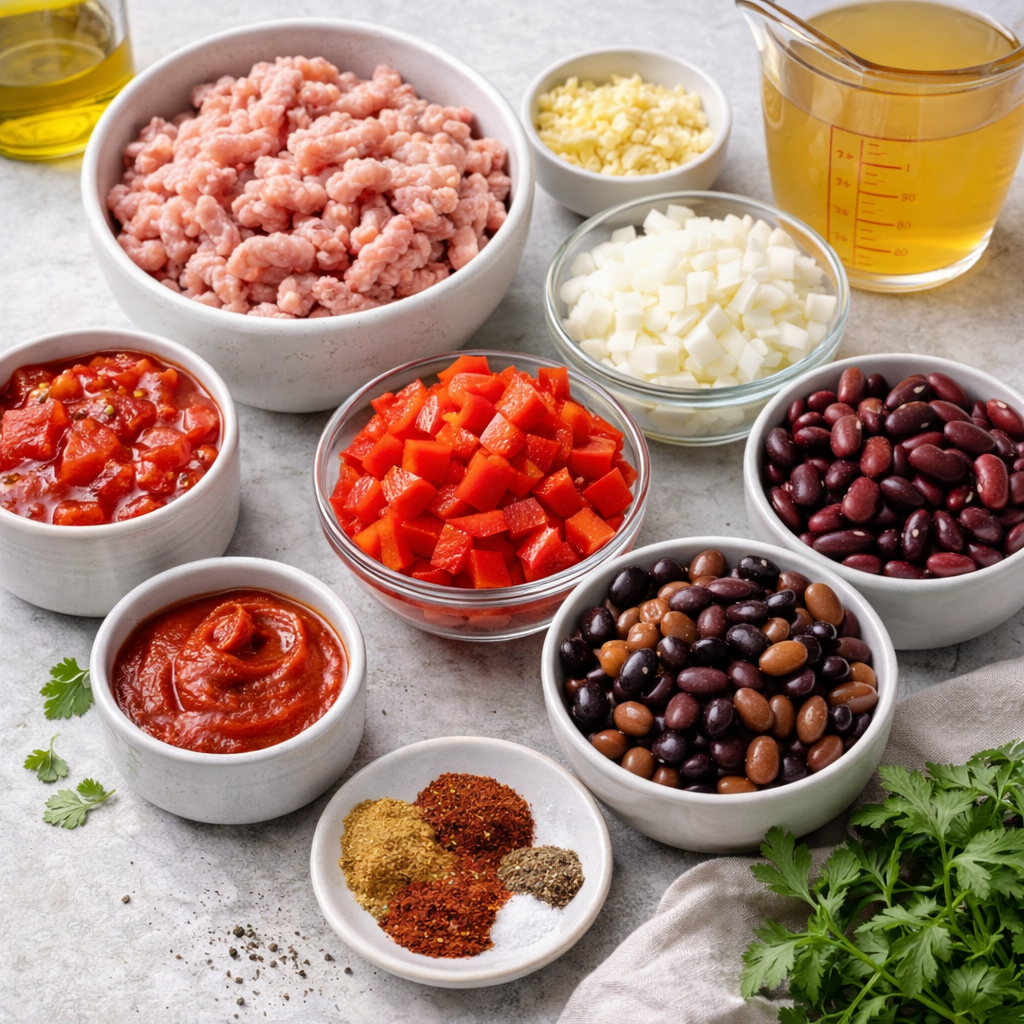
This recipe uses everyday ingredients you’ll find easily, and everything cooks together smoothly.
Main ingredients:
- Lean ground turkey
- Onion and garlic
- Bell pepper
- Canned beans (kidney, black, or white, your choice)
- Diced tomatoes
- Tomato paste
- Chicken broth or stock
- Chili powder, cumin, smoked paprika
- Salt and black pepper
(Tip: Choosing lean turkey keeps the chili lighter while still protein-packed.)
Step-by-Step: How to Make Instant Pot Turkey Chili
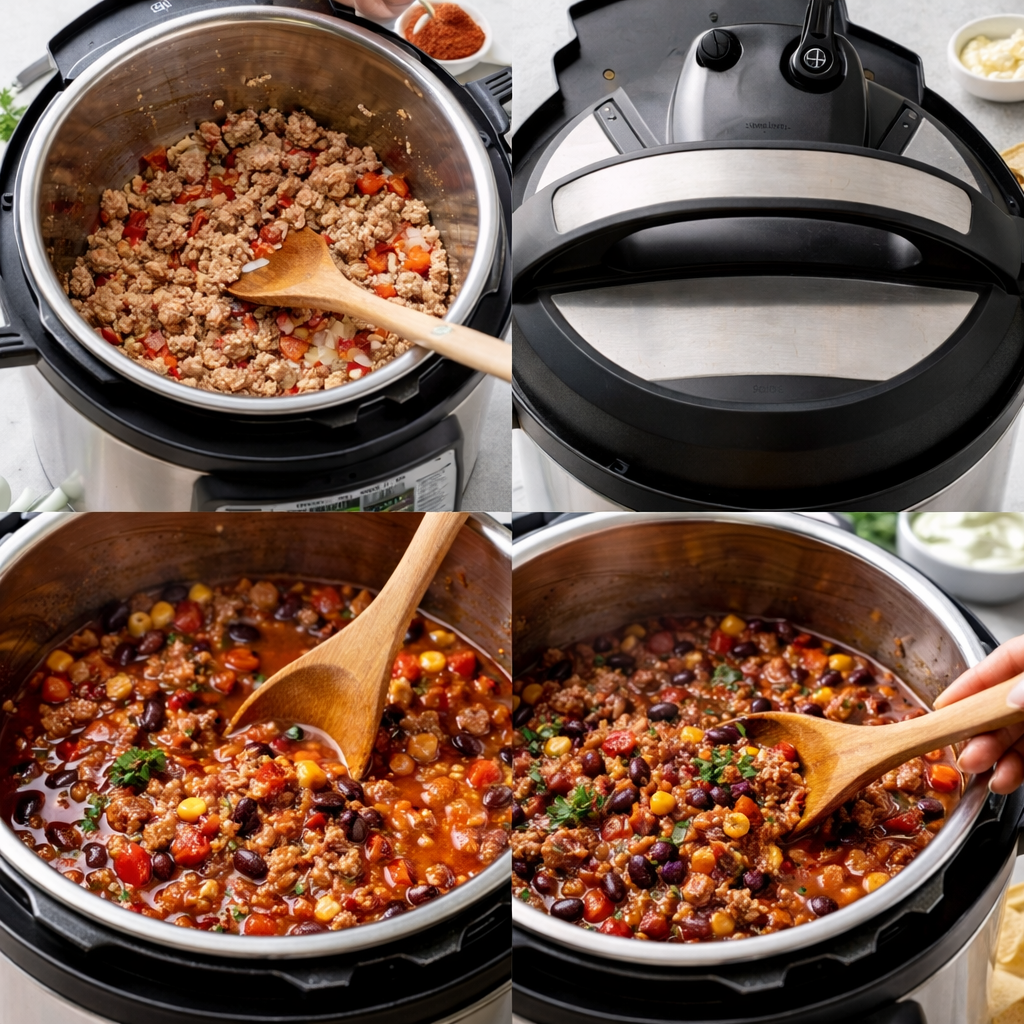
Build Flavor Using Sauté Mode
Start by heating the Instant Pot on sauté mode. Add the ground turkey and cook until lightly browned, breaking it apart as it cooks. Stir in onion, garlic, and bell pepper, letting them soften. Deglaze the pot with a splash of broth, scraping up any browned bits, this step adds flavor and helps prevent sticking.
Pressure Cooking Phase
Add the remaining ingredients, including beans, tomatoes, spices, and broth. Stir gently, seal the lid, and pressure cook until everything is tender and well blended. The turkey cooks quickly under pressure, staying juicy rather than dry.
Release, Stir & Final Taste Adjustments
After cooking, allow a short natural release before opening the lid. Stir the chili well and adjust seasoning. This is when the flavors truly come together.
How to Adjust Thickness Without Losing Flavor
If you prefer thicker chili, you have a few options:
- Let the chili simmer briefly on sauté mode
- Mash a small portion of the beans and stir back in
- Use a light cornstarch slurry if needed
Avoid over-thickening, turkey chili should be hearty, not pasty.
Customizations Based on Taste & Diet
This recipe adapts easily without changing the base method.
- Mild or spicy: Adjust chili powder or add jalapeño
- With beans or without: Both work well
- Extra vegetables: Carrots or zucchini blend in nicely
- Lower-carb: Reduce beans and add more peppers
These tweaks keep the recipe flexible while preserving flavor.
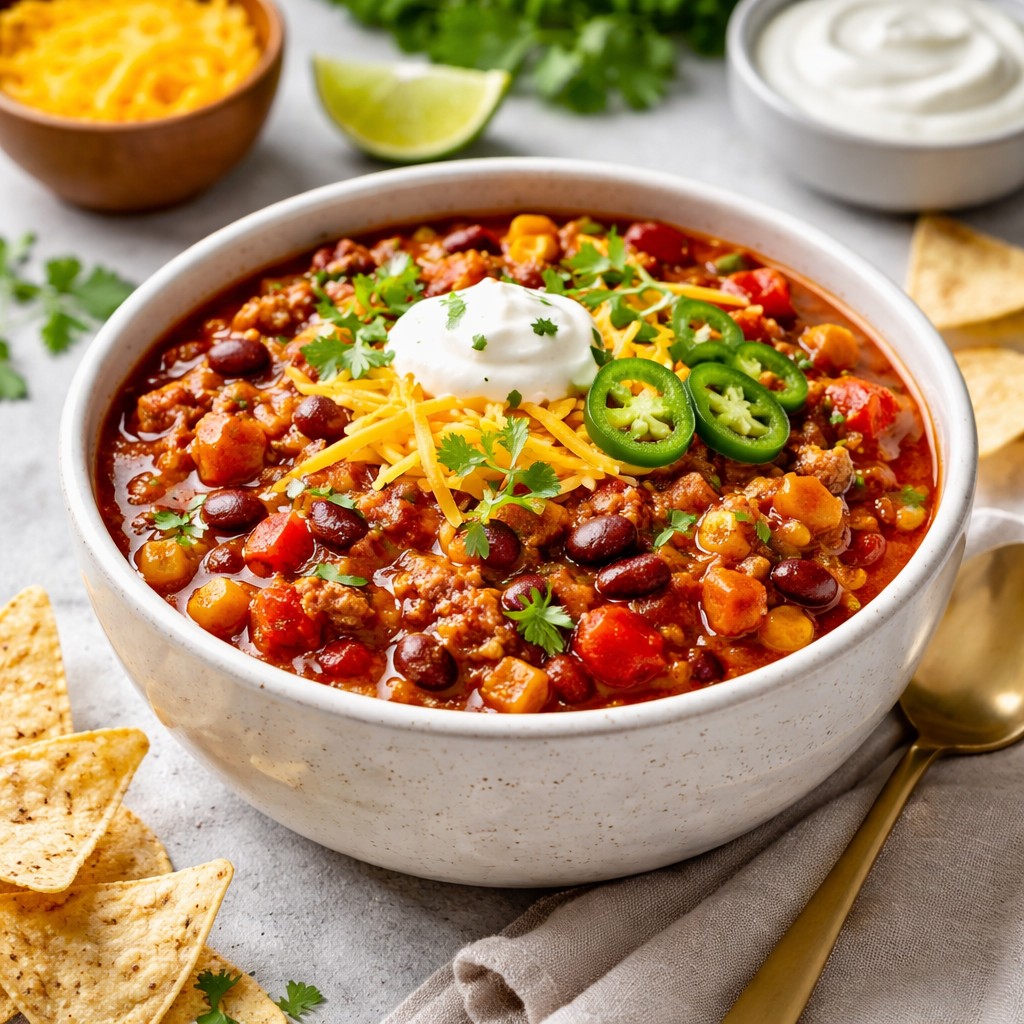
Serving Ideas That Actually Complement Turkey Chili
Top your chili with:
- Sour cream or Greek yogurt
- Shredded cheese
- Fresh cilantro or green onions
Serve with cornbread, rice, or simple tortilla chips for a satisfying meal.
Common Mistakes to Avoid
- Skipping the sauté step
- Using too little liquid
- Over-spicing early before pressure cooking
- Stirring aggressively after cooking (can break beans too much)
Small adjustments make a big difference.
Frequently Asked Questions
Can turkey dry out in the Instant Pot?
Not if it’s cooked with enough liquid and pressure-cooked correctly.
What size Instant Pot works best?
A 6-quart model comfortably handles this recipe.
Can I make this ahead of time?
Yes, it’s excellent for meal prep and leftovers.
Final Notes
This pressure cooker turkey chili is proof that comfort food can be both practical and flavorful. With minimal prep, balanced seasoning, and easy customization, it’s a recipe worth saving.
Instant Pot Turkey Chili
Ingredients
Equipment
Method
Build Flavor Using Sauté Mode
Turn the Instant Pot to Sauté mode. Add olive oil, then ground turkey. Cook for 3 to 4 minutes, breaking it apart until lightly browned.Add chopped onion, garlic, and bell pepper. Sauté for 2 to 3 minutes until softened and fragrant.Deglaze the Pot
Pour in a small splash of chicken broth and scrape the bottom of the pot to loosen any browned bits. This step prevents the burn notice and adds flavor.Add Remaining Ingredients
Stir in beans, diced tomatoes, tomato paste, remaining broth, chili powder, cumin, smoked paprika, salt, and black pepper. Mix gently to combine.Pressure Cooking Phase
Cancel sauté mode. Secure the lid and set the valve to Sealing.Pressure cook on High for 10 minutes.Release, Stir & Final Taste Adjustments
Allow a 10-minute natural release, then carefully quick release any remaining pressure.Open the lid, stir the chili, and adjust seasoning if needed.
Nutrition
Notes
- For a thicker chili, simmer on sauté mode for 2 to 3 minutes after pressure cooking.
- If you prefer spicier chili, add cayenne or extra chili powder at the end.
- This recipe works well with or without beans, adjust broth slightly if omitting beans.
- Refrigerator: Store in an airtight container for up to 4 days.
- Freezer: Freeze in portions for up to 2 months.
- Reheat: Warm gently on the stove or microwave with a splash of broth if needed.