My abuela never measured a single thing when she made this arroz con leche recipe. Not once. Just poured, stirred, and somehow produced the most perfect rice pudding on the planet every single time. I spent a solid two years reverse-engineering that magic.
Jump to RecipeThis arroz con leche recipe is thick, warmly spiced, and just sweet enough without tipping into dessert-for-breakfast territory. I make it on cold weeknights when my toddler is fussy and my teenager needs comfort food, and it genuinely makes both of them happy at the same time.
The secret is patience with the milk. You cannot rush this one.
Why You’ll Love This Arroz Con Leche Recipe
- Minimal ingredients: six pantry staples you almost certainly already have
- Works warm or cold: incredible right off the stove and equally good straight from the fridge the next morning
- Toddler-approved and teen-approved: genuinely rare in my house
- No fancy equipment needed: just a pot, a spoon, and about 40 minutes
- Endlessly customizable: vanilla, citrus zest, coconut milk, this base recipe handles all of it
Ingredients for Arroz Con Leche Recipe
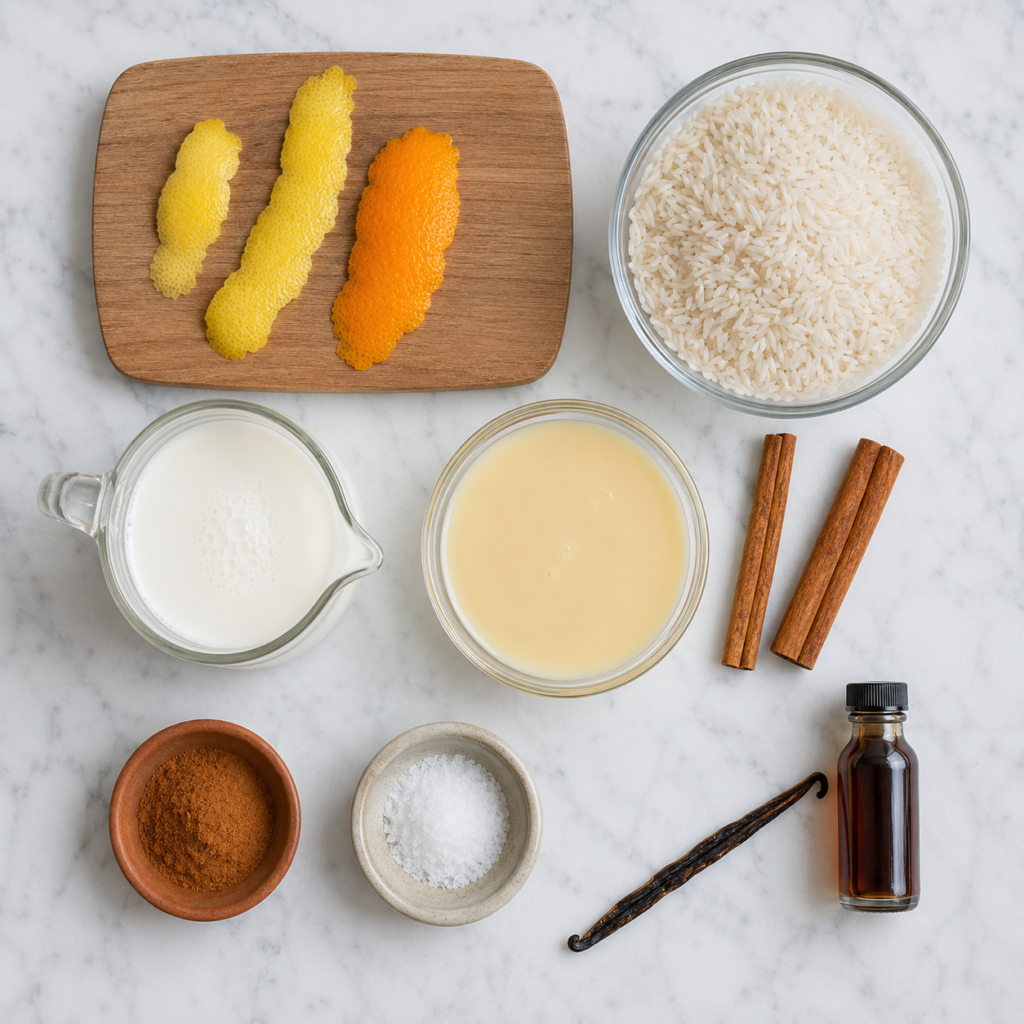
For the arroz con leche:
- 1 cup long-grain white rice: rinsed well. Rinsing removes surface starch so the pudding stays creamy instead of gluey.
- 2 cups water
- 4 cups whole milk: whole milk is non-negotiable here. Low-fat versions make a thin, sad pudding. I tested it so you don’t have to.
- 1 can (14 oz) sweetened condensed milk: this is your sweetener AND your thickener. Don’t swap it for regular sugar without adjusting the liquid ratio.
- 2 cinnamon sticks
- 1 strip lemon peel: just the yellow part, about 3 inches long. Adds a quiet brightness you’ll miss if you skip it.
- ¼ tsp vanilla extract
- Pinch of salt
- Ground cinnamon for serving
Substitution note: Evaporated milk can replace half the whole milk for a richer, more caramel-forward arroz con leche. Some people add orange peel alongside the lemon, that’s delicious too.
How to Make Arroz Con Leche Recipe — Step by Step

Step 1: Rinse the rice
Put your rice in a fine mesh strainer and rinse under cold water for about 30 seconds, until the water runs mostly clear. This step matters more than people give it credit for. Surface starch is what causes gummy, clumped pudding. Rinse it away now and you’ll have a silky arroz con leche instead of rice paste.
Step 2: Cook the rice in water first
Add the rinsed rice, cinnamon sticks, and 2 cups of water to a medium heavy-bottomed saucepan. Bring it to a boil over medium-high heat, then drop the heat to low and cover. Cook 10 minutes. The rice won’t be fully cooked yet, that’s fine. You want it about 75% done before the milk goes in. Starting in water (not milk) prevents scorching and gives the cinnamon time to bloom.
Step 3: Add the milk and lemon peel
Pour in all 4 cups of whole milk and add your lemon peel strip. Give it a stir and bring it up to a gentle simmer over medium heat. Do not crank the heat trying to speed this up. High heat will scorch the milk on the bottom of the pan and you will be scrubbing your pot for the rest of the evening. Low and slow is the entire point of a good arroz con leche recipe.
Step 4: Simmer and stir — this is the work
Cook on medium-low, stirring every 3 to 4 minutes, for about 20 minutes total. You’re not standing at the stove the entire time, but you’re also not walking away. The stirring prevents a thick skin from forming on the surface and keeps the rice from sticking to the bottom. Around the 15-minute mark it’ll start looking noticeably creamier. That’s your sign that things are going right.
Step 5: Stir in sweetened condensed milk
Once the rice has absorbed most of the milk and the mixture is thick and creamy, stir in the sweetened condensed milk, vanilla extract, and salt. Cook another 5 minutes, stirring constantly, until everything is fully combined and glossy. Remove the cinnamon sticks and lemon peel. Taste it. Adjust nothing, I promise it’s right.
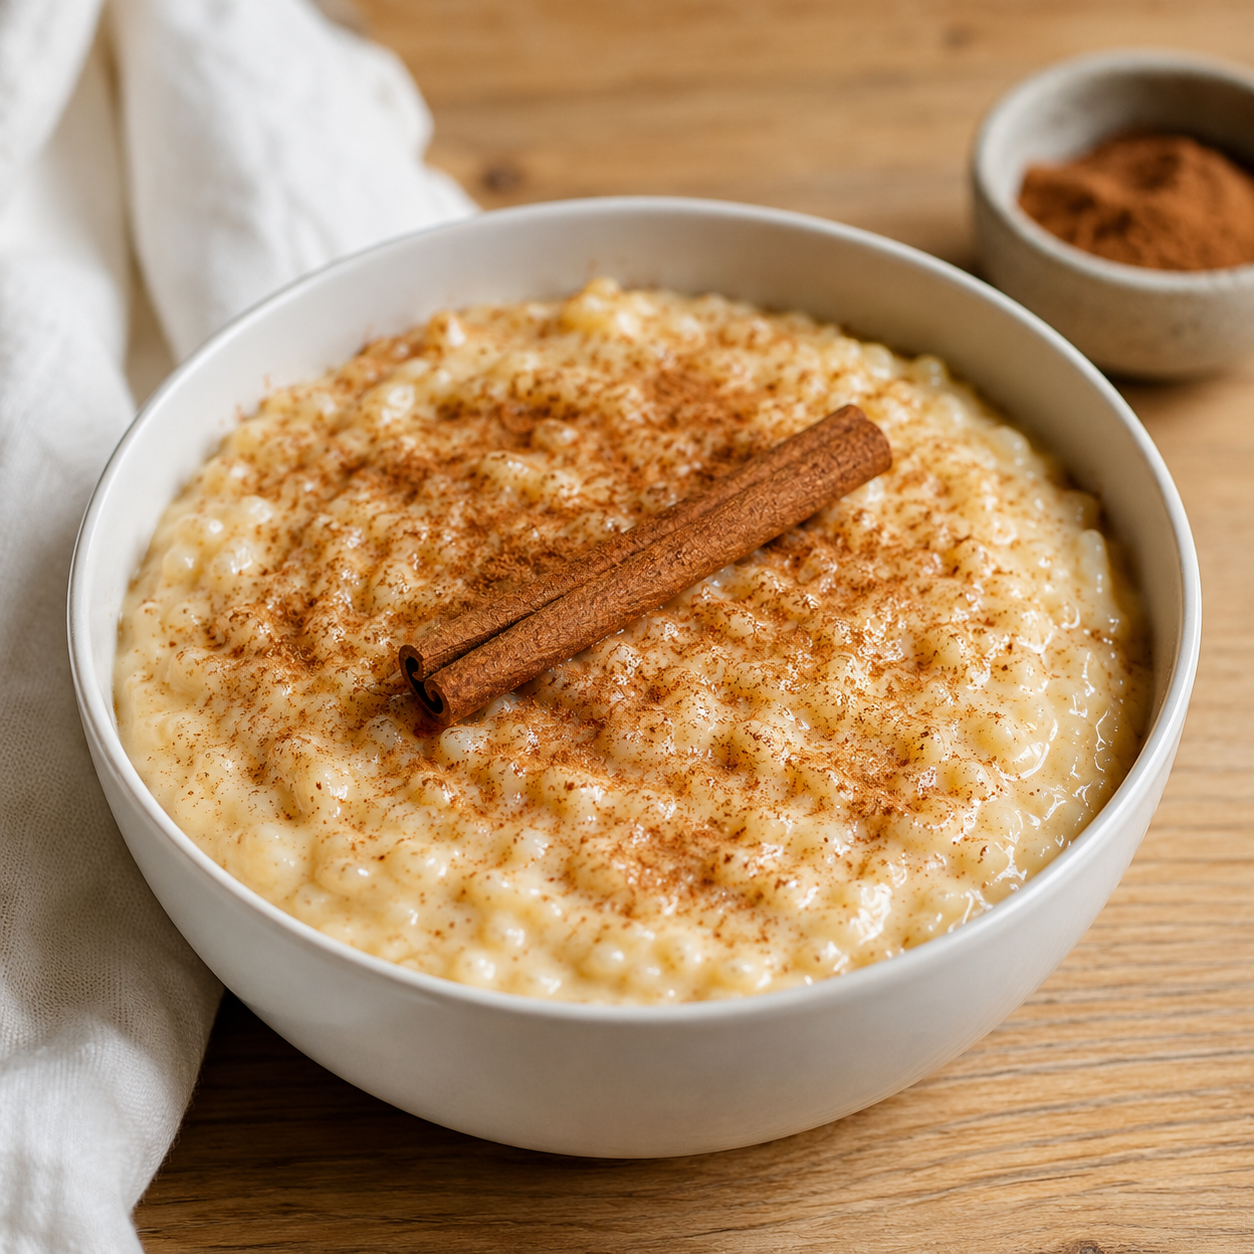
Step 6: Serve and dust with cinnamon
Ladle the arroz con leche into bowls and dust generously with ground cinnamon. Serve warm right now, or press plastic wrap directly onto the surface before refrigerating. That direct contact prevents the dreaded skin. Eat it cold tomorrow morning and pretend it’s not dessert for breakfast. It absolutely is.
Amber’s Tips for the Best Arroz Con Leche Recipe
💛 Amber’s Tip: The single biggest mistake I see with arroz con leche recipe is adding the condensed milk too early. If you stir it in before the rice has absorbed most of the whole milk, the sugars scorch on the bottom and the whole thing tastes faintly burnt. Wait until the mixture is visibly thick and creamy, then add the condensed milk and cook just 5 more minutes. Also, if your arroz con leche thickens up more than you wanted while cooling, stir in a splash of warm whole milk before serving. It loosens right up.
Variations on This Arroz Con Leche Recipe
Coconut Arroz Con Leche
Swap 2 cups of the whole milk for full-fat coconut milk. The result is slightly tropical and deeply rich. My teenager asked me to make this version exclusively from now on. I said maybe.
Spiked Arroz Con Leche (Adults Only)
Stir in 2 tablespoons of dark rum or Mexican vanilla brandy along with the condensed milk. Serve warm at a dinner party and watch every adult in the room immediately relax. It’s genuinely lovely.
Slow Cooker Arroz Con Leche
Combine everything except the condensed milk in your slow cooker. Cook on low for 4 hours, stirring once halfway through. Stir in the condensed milk during the last 20 minutes. Texture is slightly different, less glossy, more porridge-style, but completely hands-off, which matters on certain days.
Arroz Con Leche With Evaporated Milk
Replace 2 cups of whole milk with one 12-oz can of evaporated milk for a deeper, more caramel-forward flavor. This version tends to thicken faster, so keep a close eye on it around the 15-minute mark and stir more frequently.
What to Serve With Arroz Con Leche Recipe
As a dessert after a big meal: This arroz con leche recipe shines after something savory and bold. Think tamales, enchiladas, or a slow-cooked pot of beans and rice.
Warm with fresh fruit: Sliced strawberries, mango chunks, or a few blueberries on top add freshness and cut the richness. My toddler eats it this way every single time.
Cold for breakfast: I said what I said. Cold arroz con leche with a sprinkle of extra cinnamon is absolutely acceptable morning food and I will not be debating this.
With a shot of espresso on the side: The bitterness of coffee alongside sweet, creamy rice pudding is one of those combinations that just works. Every time.
Storage and Reheating
Fridge: This arroz con leche recipe keeps well for up to 4 days in an airtight container. Press plastic wrap directly onto the surface before sealing to prevent a skin from forming.
Freezer: Technically freezable, but in my experience the texture suffers. The rice grains become a bit grainy after thawing. If you do freeze it, thaw overnight in the fridge and stir in a splash of warm milk when reheating.
Reheating: Low and slow on the stovetop, adding a few tablespoons of whole milk to loosen it back up. Stir constantly. Microwave works in a pinch, 60 seconds, stir, 30 more seconds, but stovetop gives you back more of that original creamy texture.
Make-ahead tip: This arroz con leche recipe is genuinely better the next day. The flavors settle and the cinnamon gets deeper. Make it the night before a gathering and just reheat gently before serving.
Frequently Asked Questions
What kind of rice is best for arroz con leche recipe?
Long-grain white rice is my go-to, it holds its shape without becoming completely mushy. Medium-grain rice also works and produces a slightly creamier, stickier texture that some people actually prefer. Avoid instant rice entirely; it tends to dissolve into the milk and you end up with something closer to a thick paste than a proper arroz con leche recipe.
Can I make arroz con leche recipe without condensed milk?
Yes, but you’ll need to adjust. Use an additional cup of whole milk and add ½ cup of granulated sugar instead. The sweetened condensed milk does more than sweeten, it thickens and adds a subtle caramel note, so the result will be lighter and slightly less rich.
Why is my arroz con leche too thick?
It likely cooked a few minutes too long or cooled down significantly before serving. Either way, the fix is easy, stir in a splash of warm whole milk, about 2 to 3 tablespoons at a time, over low heat until it loosens to your preferred consistency.
Can I make this arroz con leche recipe dairy-free?
Yes. Use full-fat oat milk or a 50/50 blend of oat milk and canned coconut milk in place of whole milk. Swap the sweetened condensed milk for sweetened condensed coconut milk, which is available at most grocery stores near the baking aisle. The flavor is slightly different but still genuinely delicious.
How do I keep a skin from forming on the surface?
Press plastic wrap directly against the surface of the arroz con leche, actually touching the pudding, not just resting on the container rim. This blocks air contact and prevents the protein film from forming. This applies both while it cools on the counter and after it goes into the fridge.
Tried This Arroz Con Leche Recipe?
I really hope this one becomes a regular in your house the way it has in mine. Leave a star rating and drop a comment below, I read every single one and I love hearing which variation you tried.
Arroz Con Leche Recipe
Ingredients
Equipment
Method
- Rinse the rice under cold water in a fine mesh strainer until the water runs mostly clear. Set aside.
- Add the rinsed rice, cinnamon sticks, and 2 cups water to a medium saucepan. Bring to a boil over medium-high heat, then reduce to low, cover, and cook 10 minutes.
- Add the whole milk and lemon peel. Stir and bring to a gentle simmer over medium heat. Do not increase heat.
- Cook uncovered on medium-low for 20 minutes, stirring every 3 to 4 minutes, until the mixture is visibly thick and creamy.
- Stir in the sweetened condensed milk, vanilla extract, and salt. Cook 5 more minutes, stirring constantly.
- Remove cinnamon sticks and lemon peel. Ladle into bowls and dust generously with ground cinnamon. Serve warm or refrigerate with plastic wrap pressed directly onto the surface.
Nutrition
Notes
Tried this recipe?
Let us know how it was!DISCLOSURE: This post contains affiliate links. If you purchase a product through one of my links, I may earn a small commission at no additional cost to you. I only recommend products I actually use in my own kitchen. Thank you for supporting Mom Flavor Lab!