A grilled chicken wrap is one of those meals that works anytime, quick enough for busy weeknights, light enough for lunch, and filling enough to keep you satisfied for hours. With juicy grilled chicken, fresh vegetables, and a soft tortilla wrap, this recipe comes together easily in under 30 minutes without sacrificing flavor.
Jump to RecipeWhether you’re looking for a healthy grilled chicken wrap, a simple chicken wrap recipe for lunch, or a reliable go-to meal you can customize, this version keeps things practical, balanced, and delicious.
Why This Grilled Chicken Wrap Works
This recipe focuses on simplicity and speed while still delivering restaurant-style results.
- No long marination required
- Minimal prep and cleanup
- Easy to customize with sauces and fillings
- Works well for lunch, dinner, or meal prep
It’s the kind of homemade grilled chicken wrap you’ll find yourself making again and again.
Ingredients You’ll Need
For the Grilled Chicken
- Boneless chicken breast
- Olive oil
- Paprika
- Garlic powder
- Salt and black pepper
For the Wrap
- Soft tortilla wraps (regular or whole wheat)
- Lettuce (shredded or chopped)
- Tomato (sliced)
- Onion (thinly sliced)
- Cheese (optional)
Optional Sauce
- Yogurt-based sauce, ranch, or a light spicy mayo
How to Make a Grilled Chicken Wrap (30 Minutes Total)
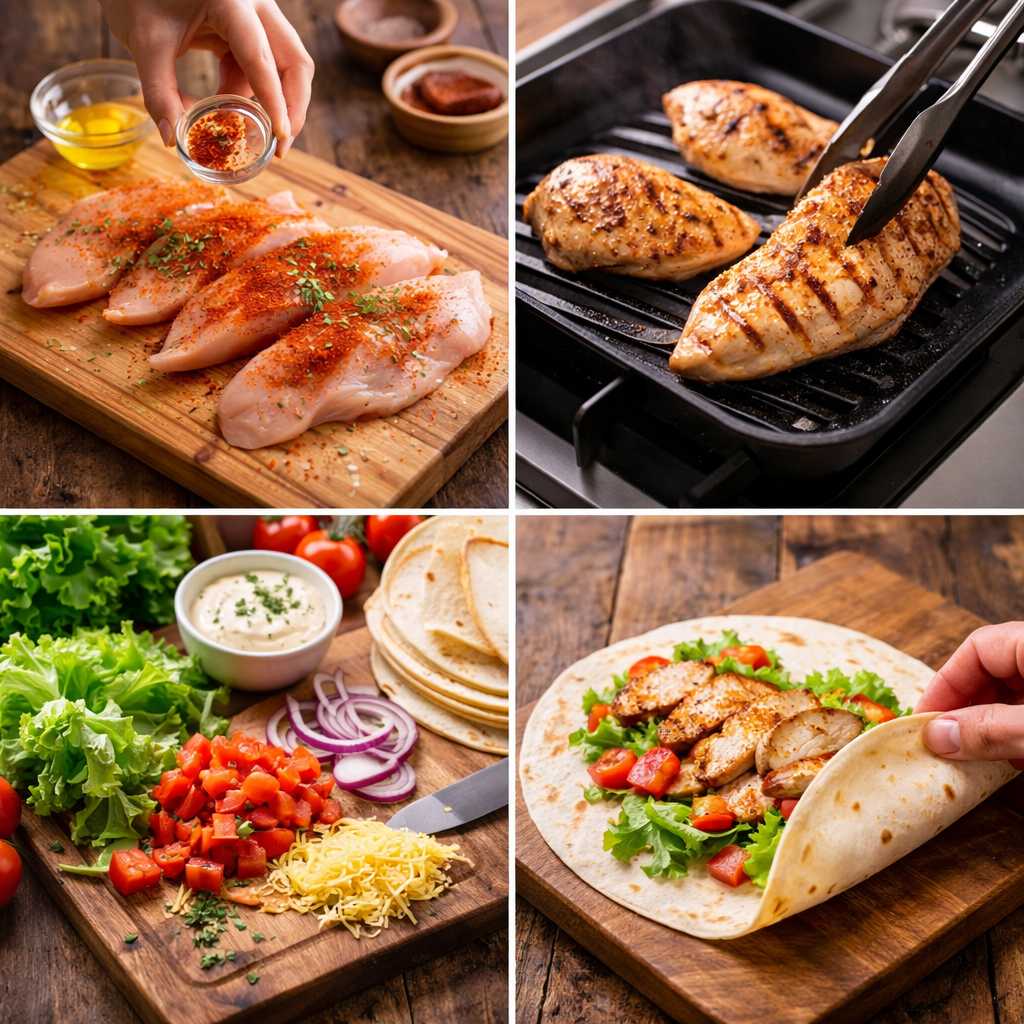
Step 1: Prep the Chicken (5 Minutes)
Pat the chicken dry, then coat lightly with olive oil. Season with paprika, garlic powder, salt, and black pepper. This quick seasoning delivers plenty of flavor without waiting.
Step 2: Grill the Chicken (10 to 12 Minutes)
Heat a grill pan over medium-high heat. Grill the chicken until golden on the outside and fully cooked through, flipping once. Let it rest for a few minutes before slicing to keep it juicy.
Step 3: Prep the Fillings (5 Minutes)
While the chicken cooks, wash and chop the vegetables. Warm the tortilla wraps slightly so they stay flexible and don’t crack.
Step 4: Assemble the Wrap (5 Minutes)
Layer lettuce first, followed by sliced grilled chicken, vegetables, cheese (if using), and sauce. Fold tightly and serve immediately.
This easy recipe is quick to make, satisfying, and ideal for busy days.
Flavor Variations You Can Try
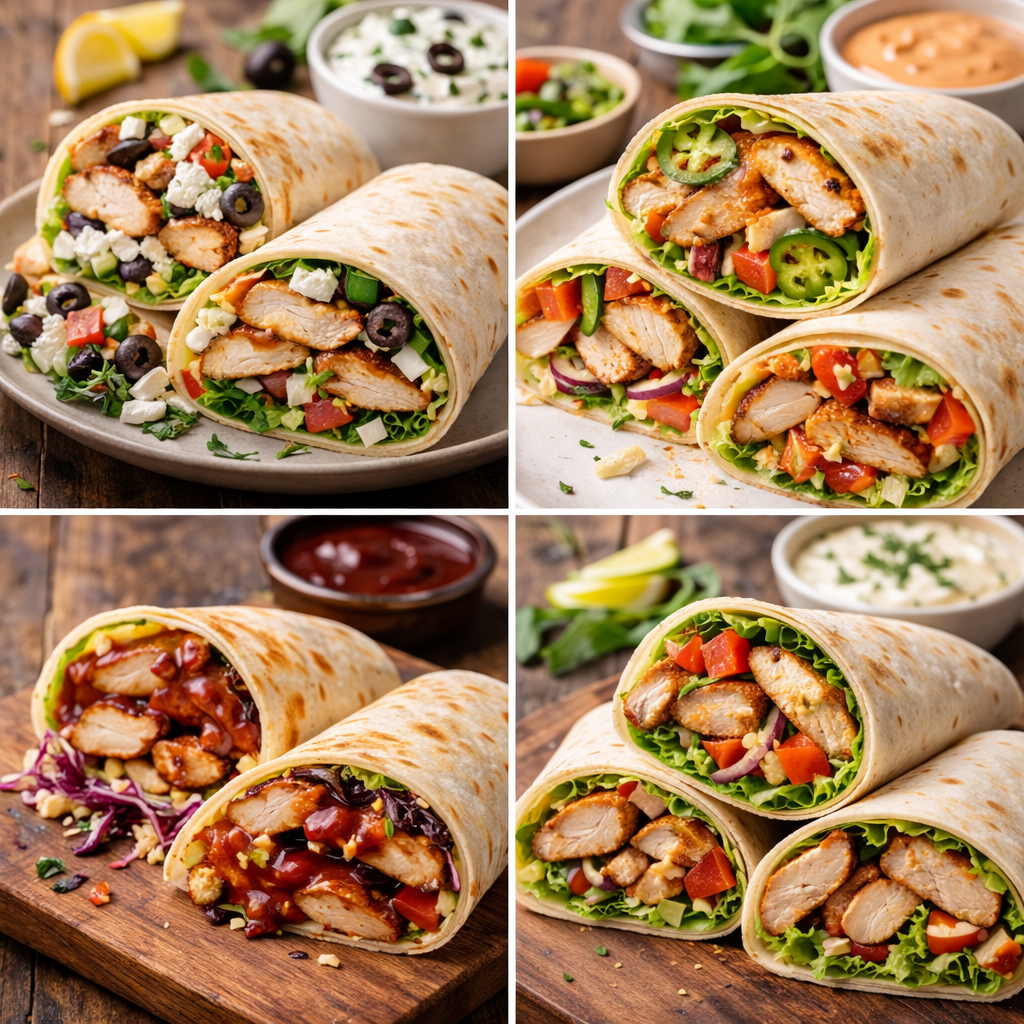
- Mediterranean grilled chicken wrap: Add cucumber, feta, and a yogurt sauce
- Spicy grilled chicken wrap: Use chili sauce or spicy mayo
- BBQ grilled chicken wrap: Toss chicken with BBQ sauce before assembling
- Light & healthy version: Skip cheese and use a yogurt-based sauce
These variations make this grilled chicken tortilla wrap feel new every time.
How to Keep the Wrap From Getting Soggy
This step is often overlooked, and it matters.
- Let the chicken cool slightly before assembling
- Place sauce between chicken and lettuce, not directly on the wrap
- Avoid overfilling
These small details keep your chicken wrap for lunch fresh and enjoyable.
Meal Prep & Storage Tips
This recipe works surprisingly well for planning ahead.
- Store grilled chicken separately for up to 3 days
- Keep vegetables dry and sealed
- Assemble wraps just before eating for best texture
It’s ideal for grilled chicken wraps for meal prep or packed lunches.
Common Mistakes to Avoid
- Overcooking the chicken (leads to dryness)
- Using cold tortillas straight from the fridge
- Adding too much sauce at once
Avoiding these helps you achieve consistent, juicy results every time.
Frequently Asked Questions
Can I use leftover grilled chicken?
Yes, leftovers work perfectly and save time.
Is this a healthy grilled chicken wrap?
Absolutely. It’s high in protein and easy to adjust based on your dietary needs.
Can I make this wrap ahead of time?
You can prep the components, but assemble just before serving for best results.
Final Thoughts
This grilled chicken wrap recipe proves that quick meals don’t have to be boring. With simple ingredients, flexible flavors, and a total cook time of under 30 minutes, it’s a recipe that fits effortlessly into real life.
Whether you’re planning lunch, a light dinner, or prepping meals ahead, this is one recipe you’ll keep coming back to.
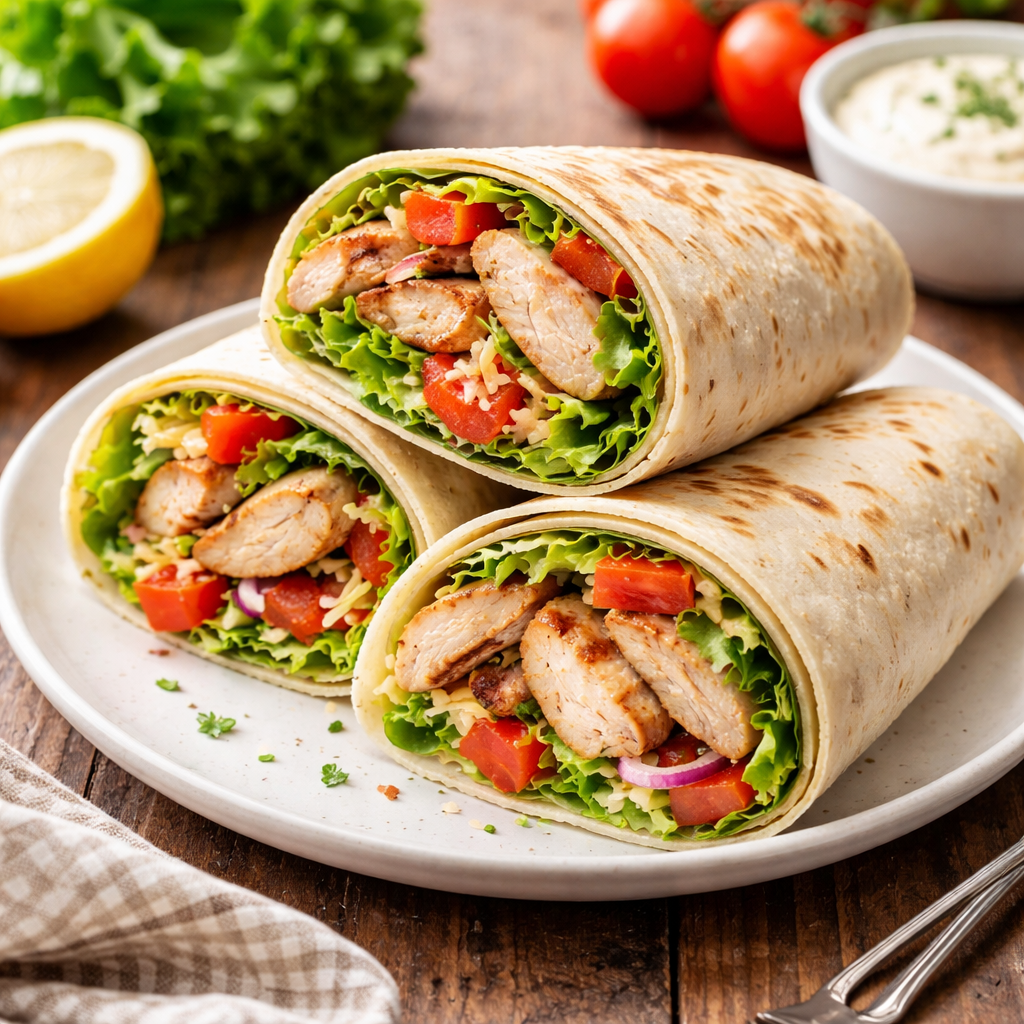
Grilled Chicken Wrap
Ingredients
Equipment
Method
Prep the Chicken
Pat the chicken breasts dry and place them in a bowl. Drizzle with olive oil and season evenly with paprika, garlic powder, salt, and black pepper.Grill the Chicken
Heat a grill pan over medium-high heat. Grill the chicken for 5–6 minutes per side, or until fully cooked and nicely charred. Remove from heat and let rest for 5 minutes, then slice into strips.Prep the Fillings
While the chicken rests, wash and prepare the vegetables. Slightly warm the tortillas so they stay soft and pliable.Assemble the Wrap
Lay each tortilla flat. Add lettuce, sliced grilled chicken, tomato, onion, cheese (if using), and sauce. Fold tightly into wraps and serve immediately.
Nutrition
Notes
- Letting the chicken rest before slicing keeps it juicy.
- Warm tortillas prevent cracking and tearing.
- Avoid overfilling to keep wraps easy to fold.